Affinity Photo Copy Settings
From the Edit menu select Paste Style. To copy and paste layer attributes and effects.

Affinity Photo Cut Out An Image
Batch processing of images in Affinity photo is really easy.

Affinity photo copy settings. Instagram teilen oder auch super in eigenen Videos benutzen. Alternatively you can cut rather than copy the layer. Up-Sampling or Down-Sampling the Image.
Mit Affinity Photo und einem einfachen Videoschnittprogramm wie zB. Affinity photo has more controls for the brush to the right of those shown above. This involves adding new pixels into the image causing the image to become larger.
While a great way to go there is a little bit of a trick to. As with Photoshop color management in Affinity Photo includes the ability to assign or convert ICC profiles. For those who want to cut the Adobe chord Affinity Photo is the most popular alternative to Photoshop and it makes a good companion to Capture One.
From the Edit menu select Paste FX. And open the image you can also press OFor the purpose of this tutorial I will use the below photo I. Even if you still use Lightroom and Photoshop many still.
Theres no Raw plugin. The distinction between these two is important. Based on the discussions in Affinity forum you cant directly copypaste the development settings from one photo to another.
In order to avoid wee tiny targets for the tools they moved all of the selection tools into a separate Persona from the rest of the standard Photo Persona tools. Just make sure you dont erase something you actually want to keep. Paste formatting or effects from one item to another.
When we increase the size of an image we call it up-sampling. I am just going to bring in the mouth a small amount so it becomes more rounded. Whats important is Affinity Photo.
In this tutorial we will learn how to use the clone brushstamp tool in Affinity Photo. Selecting the Crop Area. One of the questions that I get asked a lot is about using Affinity Photo with Capture One.
Affinity Photo also has other grid overlays you can choose using the drop-down in the toolbar along the top. When youve entered the new dimensions for the image and changed any settings click the Resize button. Unlike most keyboard shortcuts.
From the Edit menu select Preferences. You can even press Select All if you want to reset everything. Once Raws are edited you click Develop to bake in the adjustments.
Speziell auf Kompatibilität mit der neuesten Computertechnologie entwickelt ist es momentan die einzige App mit einer vollständigen Werkzeugpalette für die Fotobearbeitung unter macOS. Affinity Photo then resizes the image. I understand the Affinity workflow for raw files goes like that.
Youd assign a profile if the photo you open has no embedded profile. From the Affinity Photo menu select Preferences. Unlike Photoshop theres no Raw sidecar data.
From the Edit menu select Copy Select the layer which will receive the copied style. Serif Labs designed Affinity Photo for iPad to accommodate our fat fingers. Affinity Photo has the Clone Brush Tool exactly for that it allows you to copy a part of an image onto another area of the same image.
It makes it trickier to copy edits from one photo to another although you can create presets for each of the Develop Personas panels. Easy setup with New Document dialog for desktop only. In the Photo Persona you can do almost anything but doesnt have as intuitive sliders and workflow as you have in the Develop Persona.
Note for Mac users. Keep pressing Control until the reset dialog box appears. Develop Persona vs Photo Persona in Affinity Photo Develop Persona handles the initial RAW interpretation which is edited at RGBA32 HDR settings by default in case they are camera RAW files.
This only becomes permanent if you save. While i saw many instructive Affinity videotutorials about specific editing tasks the following questions seem to be unaddressed there. Select the layer with the style to be copied.
And from this tread you can record macros and run it on the rest of photosOr use LUTs. You have 50 wonderful high-res JPG files but you know that each one will need to be resized for optimal. And then copy and paste that selection onto a new layer.
You can also try to copypaste the adjustment. Copypaste within Affinity apps with or without formatting. CopyPaste Merged for flattening.
Most people doing image repairs wont need to venture into these but should be aware they exist. Hello this question is about the workflow with Affinity Photo for Windows not for iPad. You give it one that looks okay.
Youve just finished taking pictures of your products and now you want to post them to your blog. Then select any of the settings you want to reset. Affinity Photo hat sich mittlerweile zur ersten Wahl vieler Foto- und Kreativprofis auf der ganzen Welt entwickelt die ganz begeistert von seiner Geschwindigkeit Leistung und Präzision sind.
This only works if you do it immediately after selecting the tool. Another way to select the crop area is by clicking and dragging the crop. What is offered is to create preset from the first photo and then apply this preset to the rest of them.
Immediately after opening the Crop Tool you can click and drag with your mouse to draw out the crop area. Once I have what balance and other settings in Develop How can I save or copy those settings to apply to the next image for develop. One of the most interesting features is the dynamics that let you modify the brush as you use it through things like pen pressure angle and rotation if using a tablet device and randomly as.
You open a raw file and start editing in the Develop persona contrast. In Affinity Photo the Develop Persona is integrated into the main editor. Convert and assign ICC profile settings.
To navigate to particular preference options use the arrow keys pop-up menu or search facility at the top of the dialog. Damit stichst du garantiert aus der Masse. Paste Inside and Insert AboveBelowInside current layer.
Optional Live Assistants All assistance is non-intrusive and can be hiddendisabledtweaked. 2 Click File Open. 1 Launch Affinity Photo.
Hint Line at bottom of the. Do any of the following. Use Affinity Photos Liquify Persona to make any adjustments to the features that will be enlarged.
Selection Tools Dont Let Me Copy and Paste. IMovie kann man seine Fotos zum Leben erwecken indem aus der Momentaufnahme ein sich bewegendes Bild bzw. A perfect use case for this is to change the size of an entire folder of images for use in your blog.
Das kann man dann ganz einfach bei sozialen Netzwerken wie zB. Next make a quick selection around the subjects eyes nose and mouth. Apple System Preferences allow you to control elements of the Affinity User interface such as scrollbar behavior.
To reset Affinity Photo hold down the Control key while opening it.
![]()
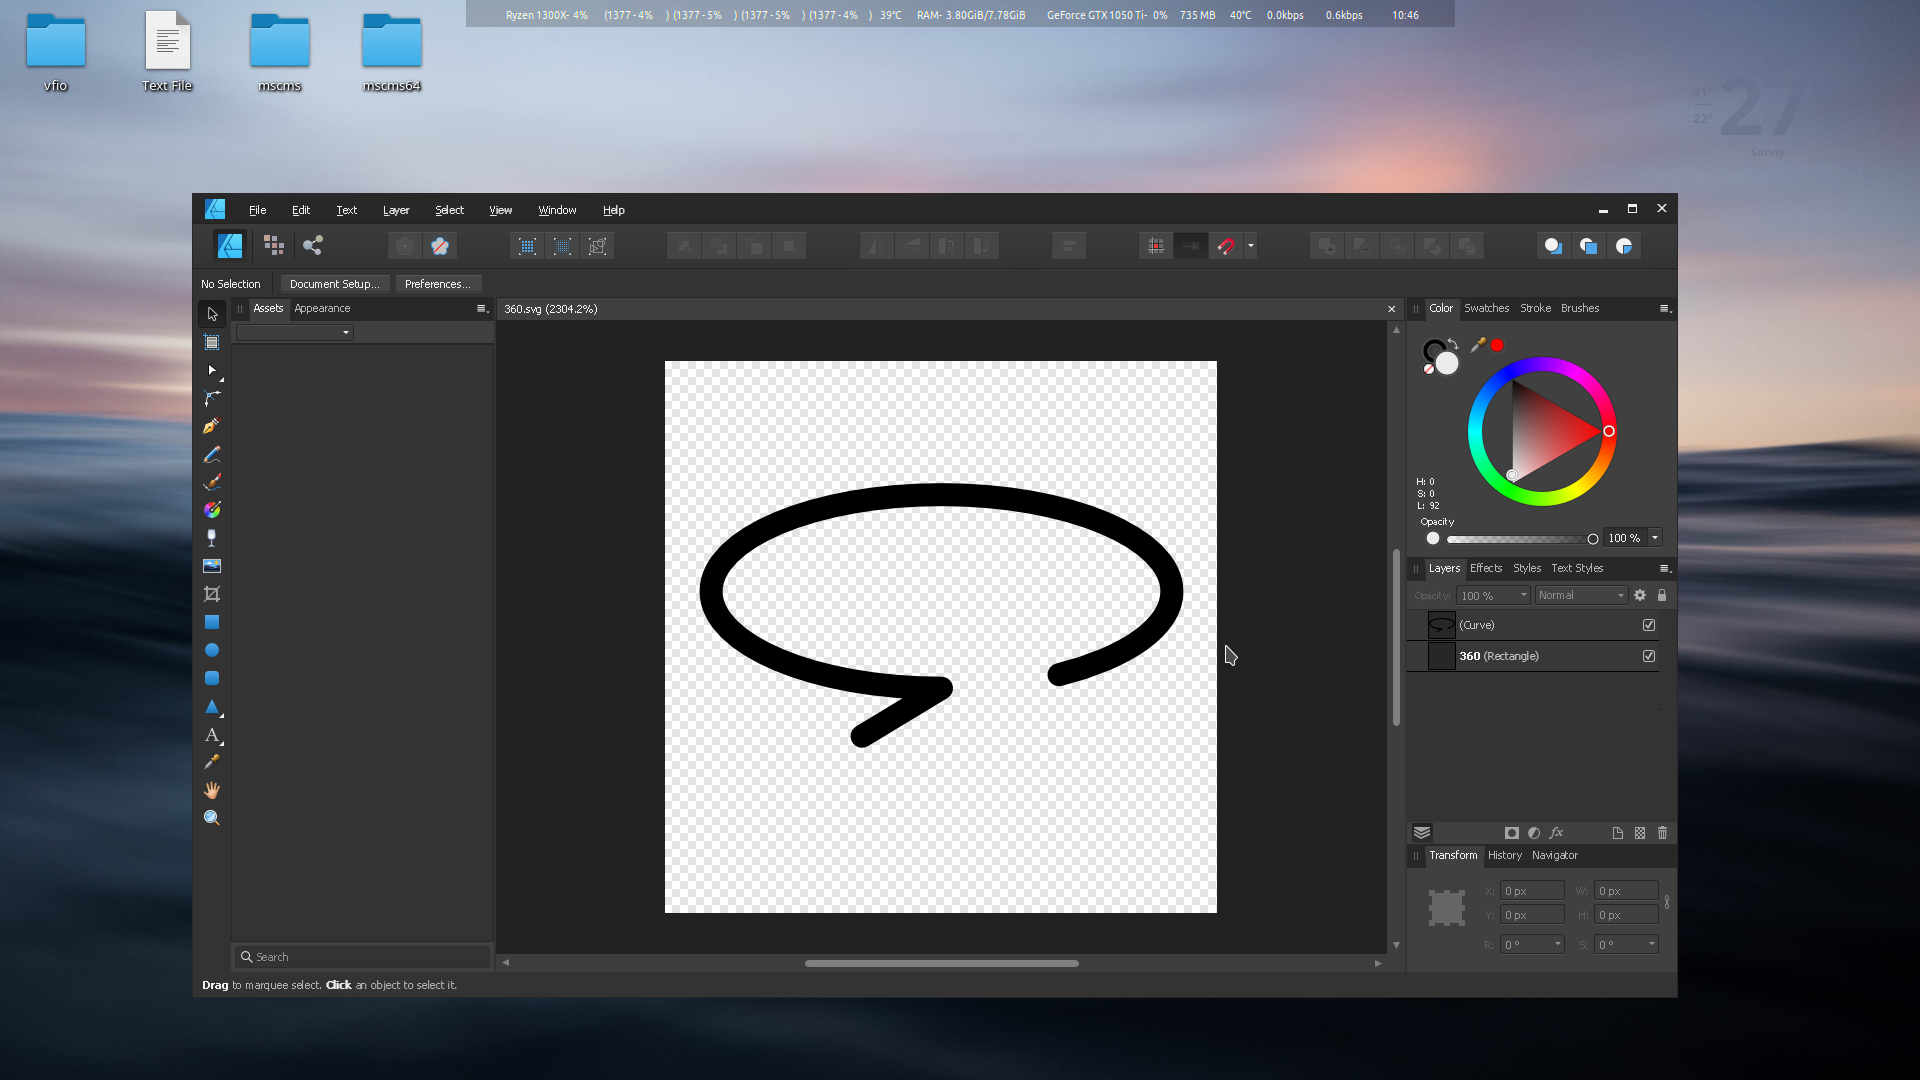
Save Png With Transparent Background In Affinity Photo Andyp Dev
Running Affinity On Linux Finally Works Tutorials Serif And Customer Created Tutorials Affinity Forum
Affinity Designer How To Export A Dxf File Affinity On Desktop Questions Mac And Windows Affinity Forum
How To Draw A Straight Dotted Line In Affinity Designer

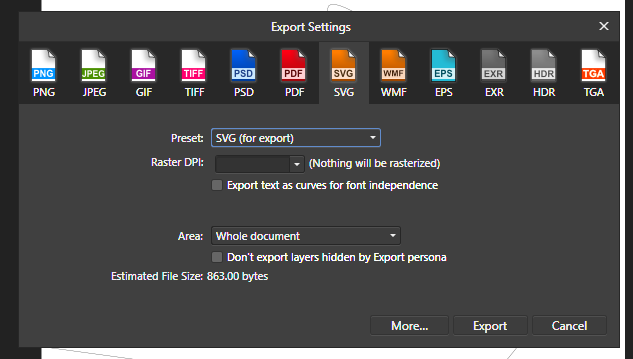
Export A Transparent Png Affinity On Ipad Questions Affinity Forum
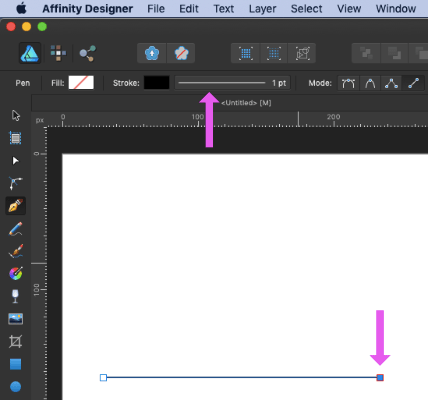
Affinity Photo How To Draw Straight Line Affinity On Desktop Questions Mac And Windows Affinity Forum

Power Duplicate With Affinity Designer Art Images Graphic Design Power

Depth Of Field Blur Filter In Affinity Photo Tutorial Youtube Photography Software Photo Tutorial Photo Filter
Running Affinity On Linux Finally Works Tutorials Serif And Customer Created Tutorials Affinity Forum

Print Bleed And Crop Marks In Affinity Designer Youtube Design Print Vector Art Design

How To Draw A Mandala Affinity Designer Tutorial Youtube Design Design Tutorials Design Theory

Affinity Photo How To Use The Clone Brush Stamp Tool
Add Grids To Images Affinity Photo Tutorial Youtube

How You Can Use The Affinity Photo Camera Raw Editor Develop Persona To Edit Images Youtube

Live Mirror Affinity Designer Tutorial Robot Design Design Tutorial
![]()
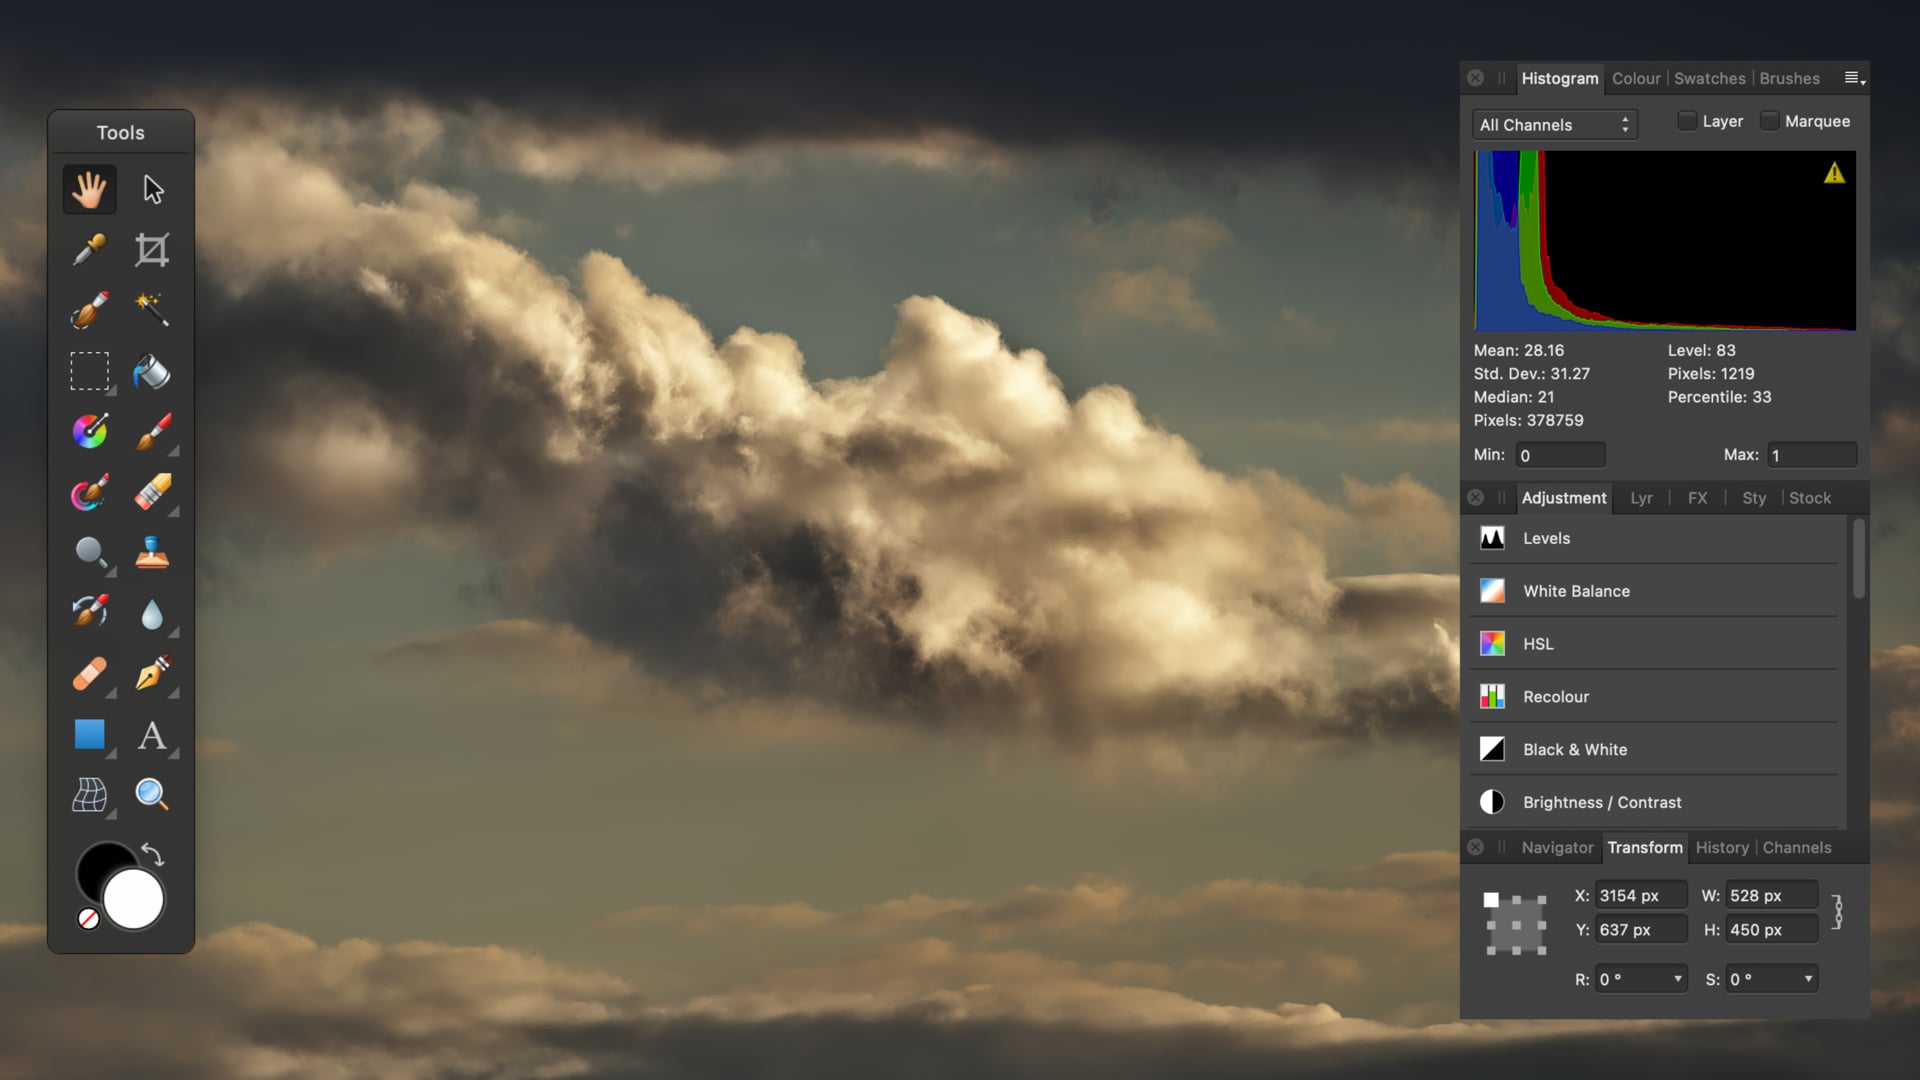
Save Png With Transparent Background In Affinity Photo Andyp Dev

Affinity Designer Pattern Perforiert I Polka Dotted Lochblech With The Affinitydesignerpatterntemplate Repeating Pattern Design Pattern Design Design
Colour Picker Tool Affinity Photo For Desktop Tutorials

Compositing Landscapes Affinity Photo Affinity Photo Compositing Landscapes Affin Photo Manipulation Photoshop Tutorials Photo Manipulation Photoshop Photo

Post a Comment for "Affinity Photo Copy Settings"